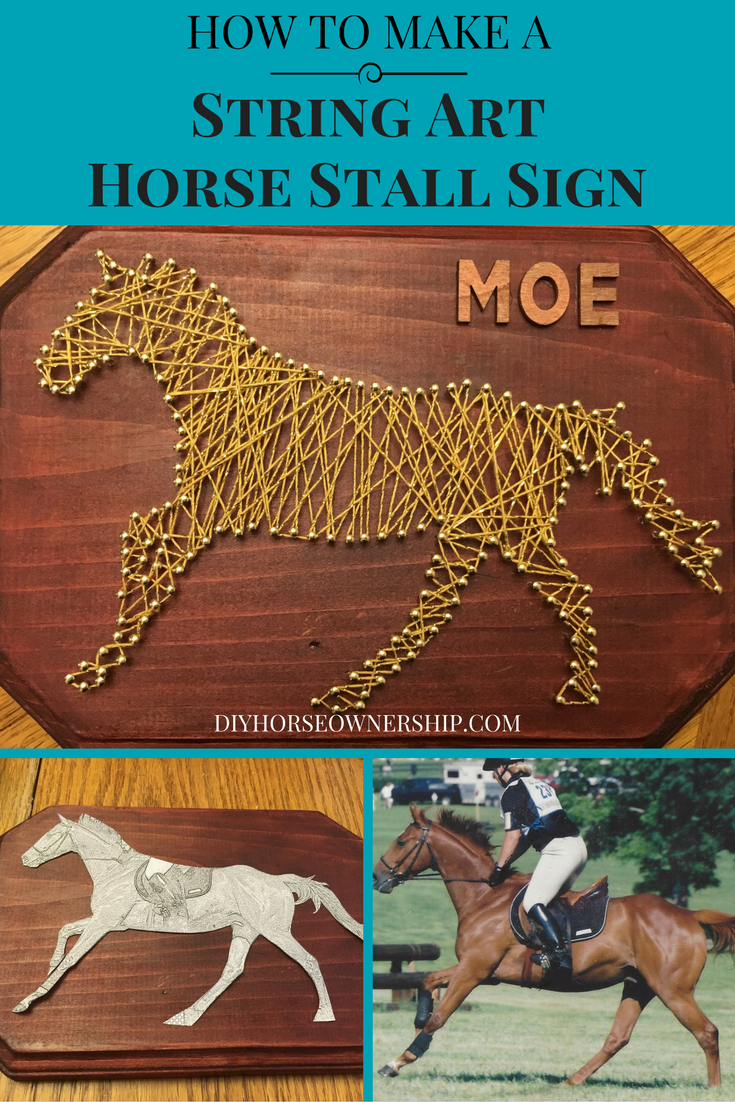
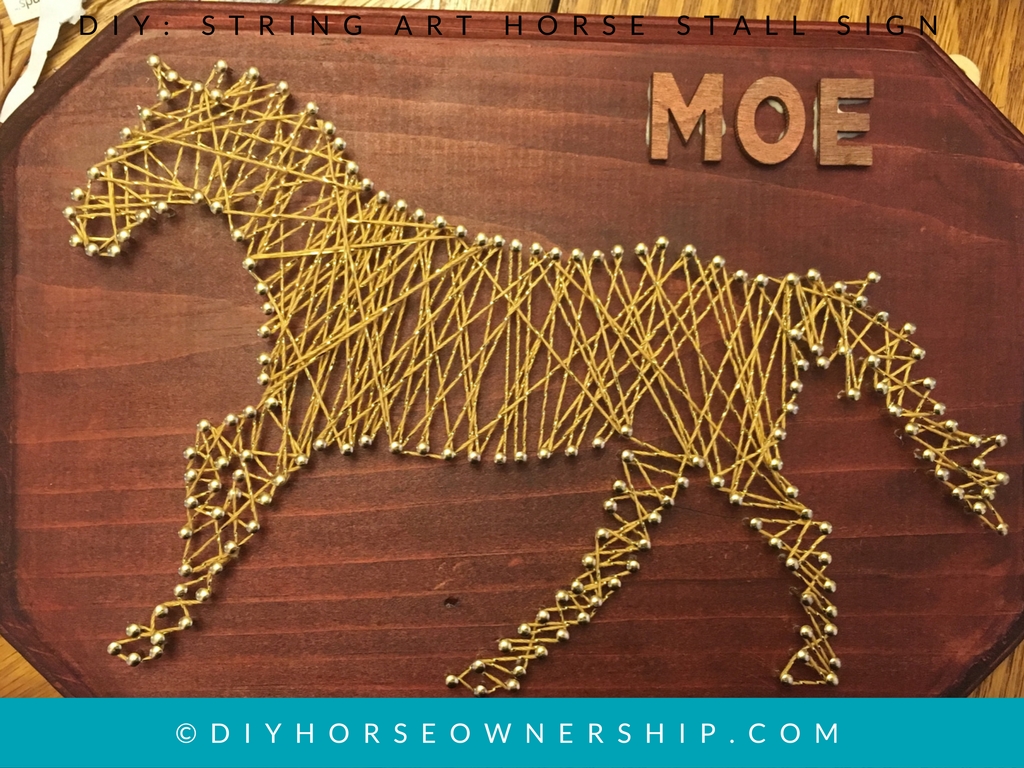
I’ve been wanting to make a stall sign like this for a while. Unfortunately, my own stalls are exposed to the elements and I don’t think this type of sign will hold up to anything other than indoor living. Stephanie of Hand-Gallop assured me she had indoor stalls so I decided to go for it.
This stall sign is actually easier than the wood-burnt ones, requires less finicky tools, and comes out looking amazing, so I would recommend trying this project out if you’ve been wanting to make your own stall sign.
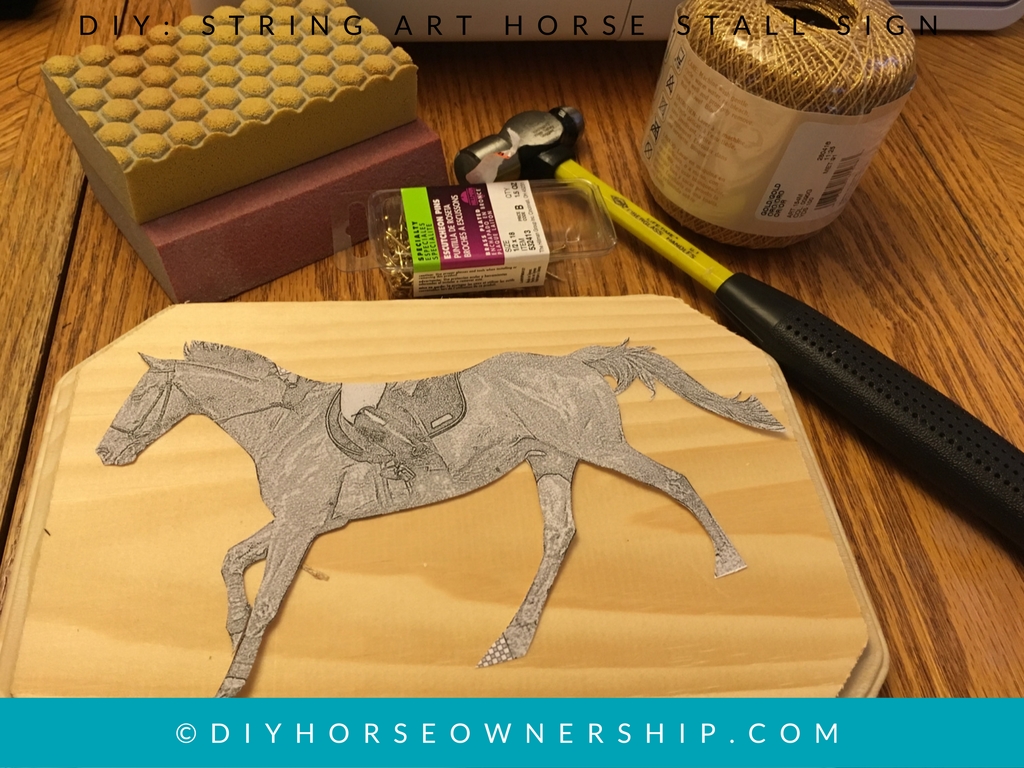
Step 1: Gather your supplies. You’ll need:
1 wooden plaque 5×7 (or smaller or larger if you so desire)
Sanding sponges (or sandpaper, but I like the sponges)
Stain of your choice (not pictured)
Spray sealant (not pictured)
Mercerized cotton yarn (I chose a metallic gold color that reminded me of Moe’s chestnut color, but you could chose any color)
A small or ball-bearing hammer
Cut-out of a print-out of your horse
Wooden letters to make up your horse’s name (not pictured)
Bronze paint pen (not pictured)
Masking or other lightly sticky tape (not pictured)
Wood glue (not pictured)
Scissors
1 box of small nails (pick a color that compliments your string)
Step 1
Step 2: Sand your wooden plaque. I like to use sandpaper sponges, but you can use sandpaper. Make sure to get into all the grooves and smooth everything out.
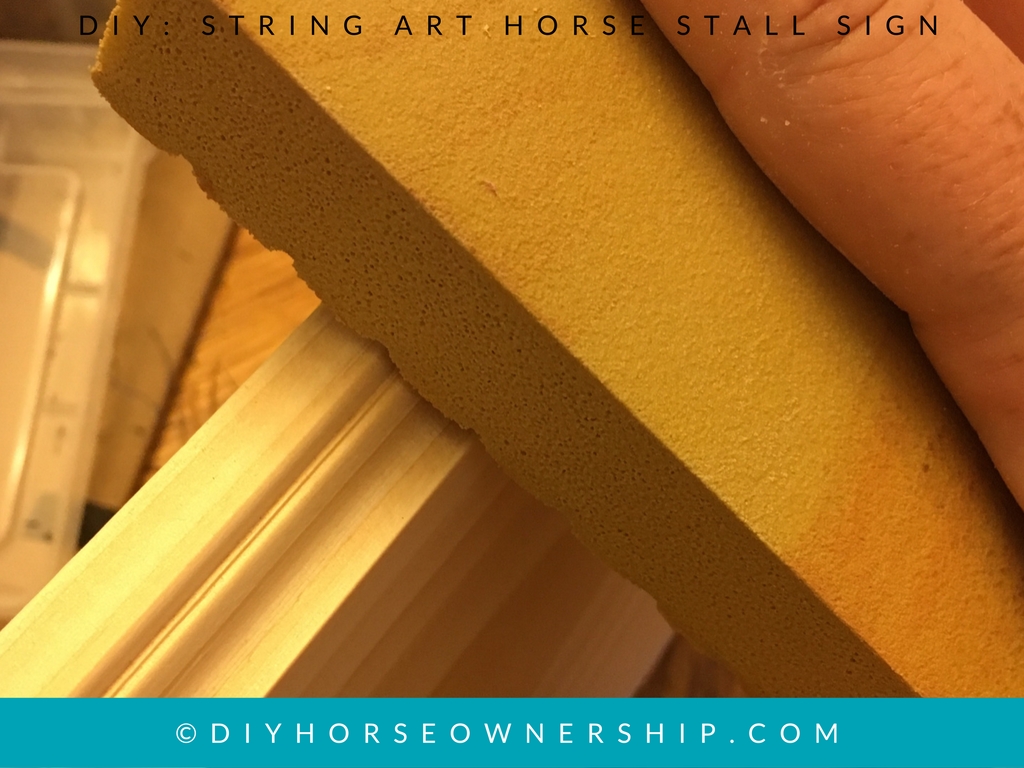
Step 2
Step 3: Stain your plaque. I chose a dark stain called “Cabernet” to contrast with my chosen string color. Sand between staining and stain at least twice. Let dry fully.
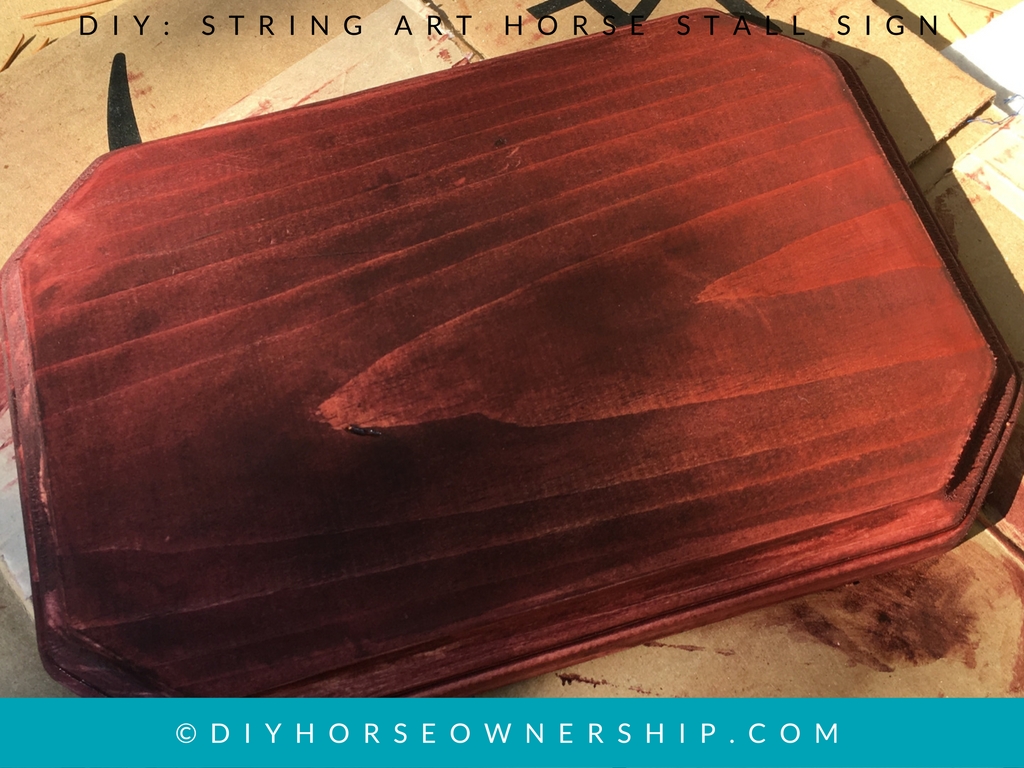
Step 3
Step 4: Tape and nail. Tape your cut-out onto the center of the wooden plaque using masking tape and start tapping your nails in along the edge of the cut-out. For the longer edges, I just placed the nails one after another by eyeing it.
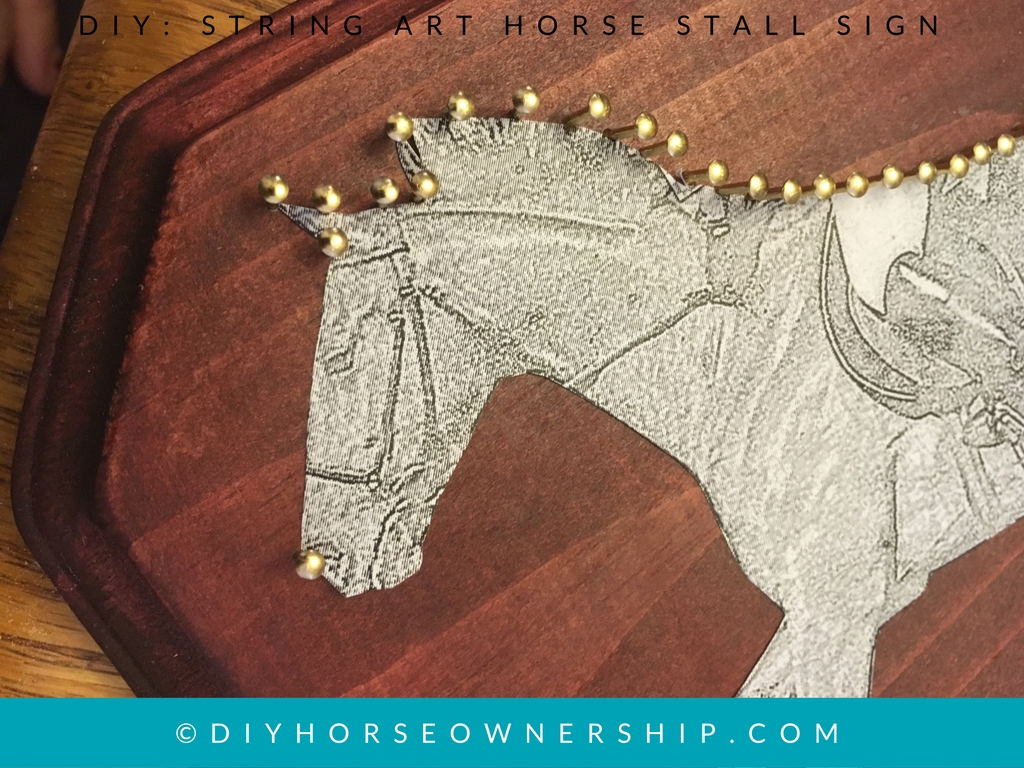
Step 4
Step 5: Nail short sections. On short edges, you’ll want to place a nail at each end, and then form a plan to fill in the section evenly. You don’t want a too wide or arrow a gap at one end because you ran out of room.

Step 5
Step 6: Continue nailing along until you’ve outlined the entire cut-out. You’ll want to go back and hammer all the nails to an even height leaving about 1/2 cm sticking up.
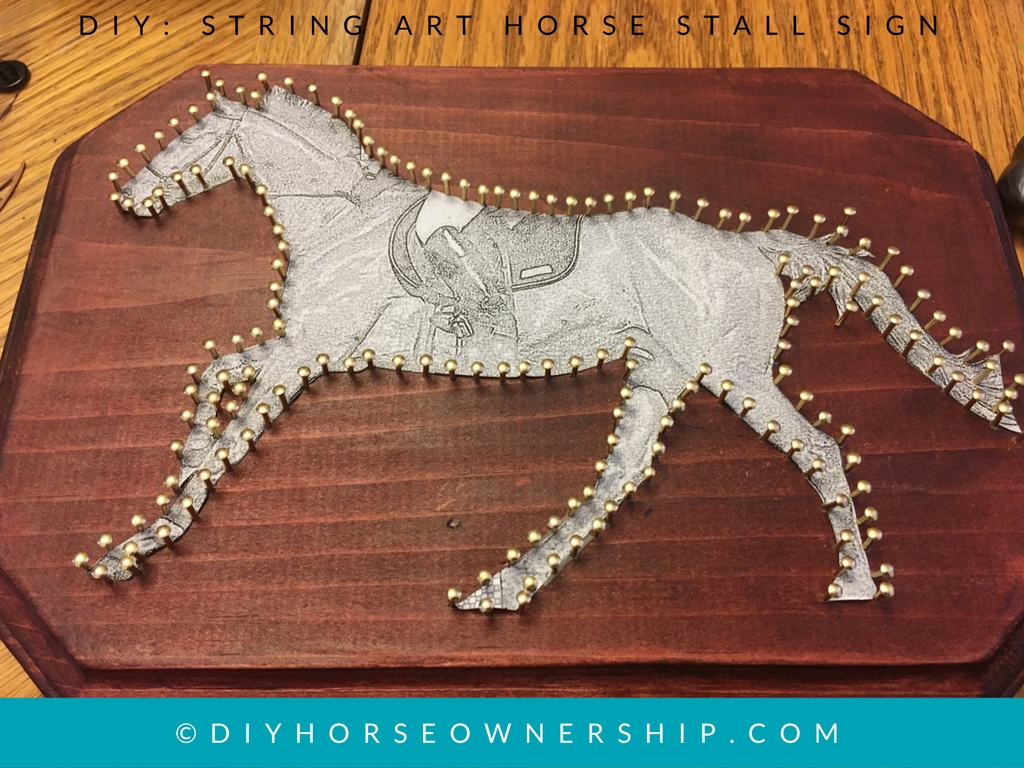
Step 6
Step 7: Remove the paper cut-out. You may need to use tweezers in the narrow sections.
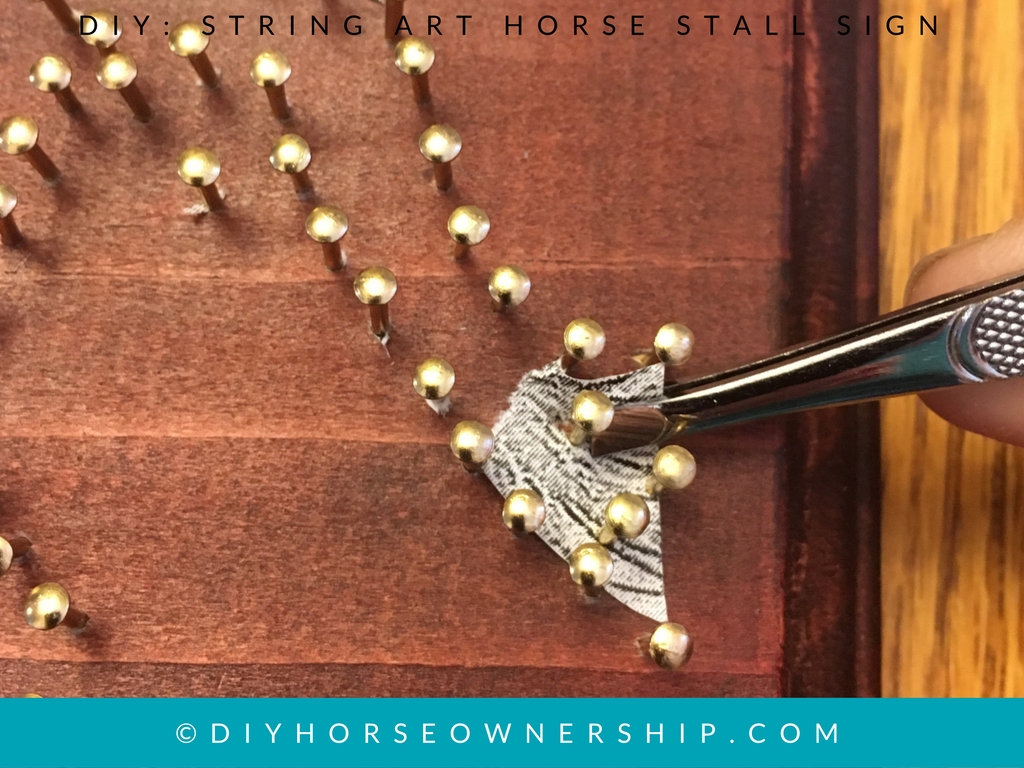
Step 7
Step 8: Stringing. Tie a knot around a nail. Begin winding the string back and forth around the nails. You don’t need to tie at each nail, just keep some pressure on and the string will stay in place beneath the nail head.
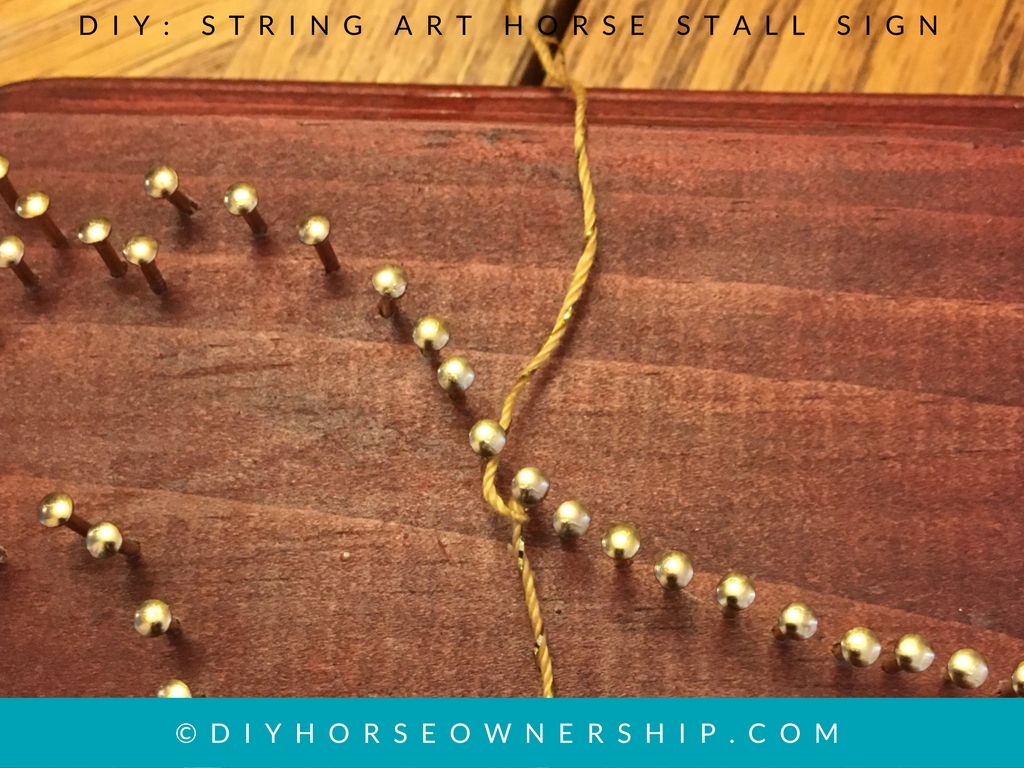
Step 8
Step 9: Continue stringing and tie off. Make sure to criss-cross the string around to different nails, don’t just go directly back and forth to the next nail over. When you’ve finished, tie the string again and cut off your tail ends. If you have a seam ripper, us it to get close to the knot so there’s no excess string hanging off.
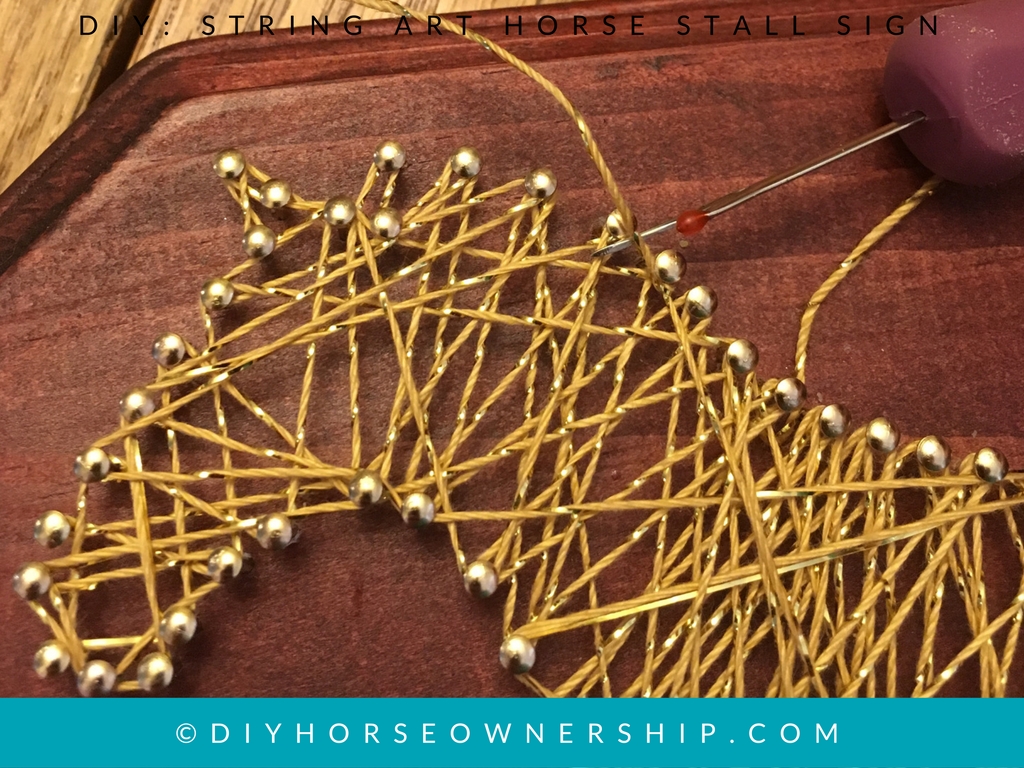
Step 9
Step 10: Glue your knots. Dab a tiny amount of glue onto each knot to further seal it. At this point your string art is done and you can move on to the name part of the sign.
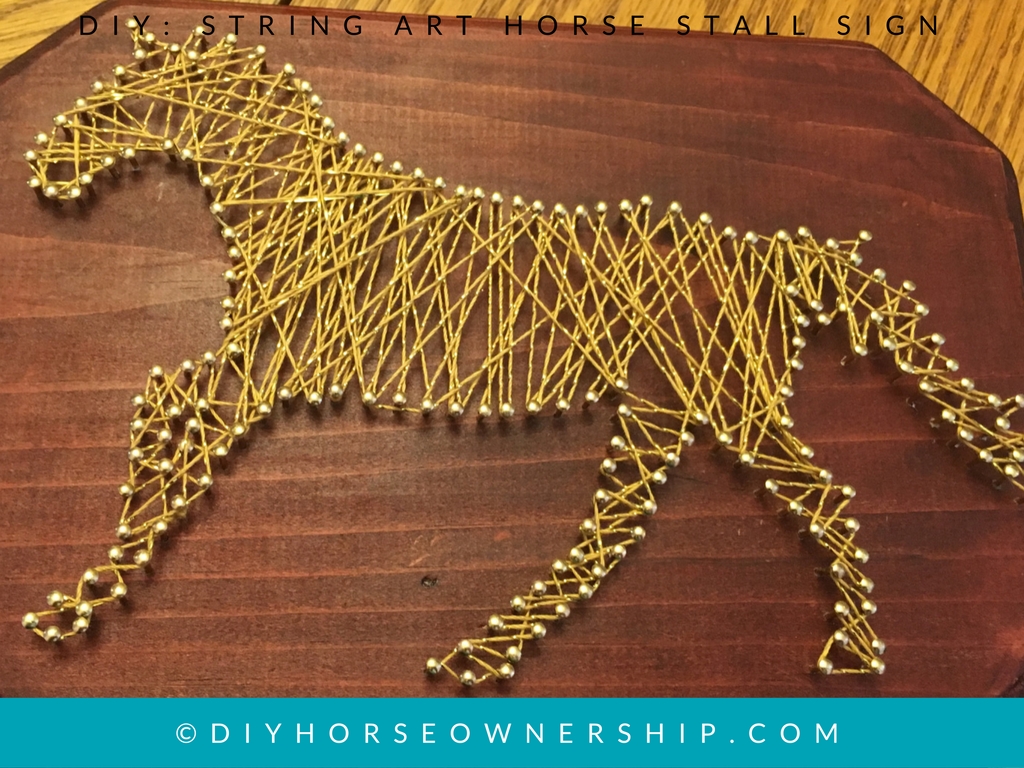
Step 10
Step 11: Paint your wooden letters. I used a bronze paint pen to color in the letters for the name. Alternatively, you could stain them, leave them unstained, or paint them, but I liked the way this color complimented the metallic string. Let the paint dry fully before the next step.
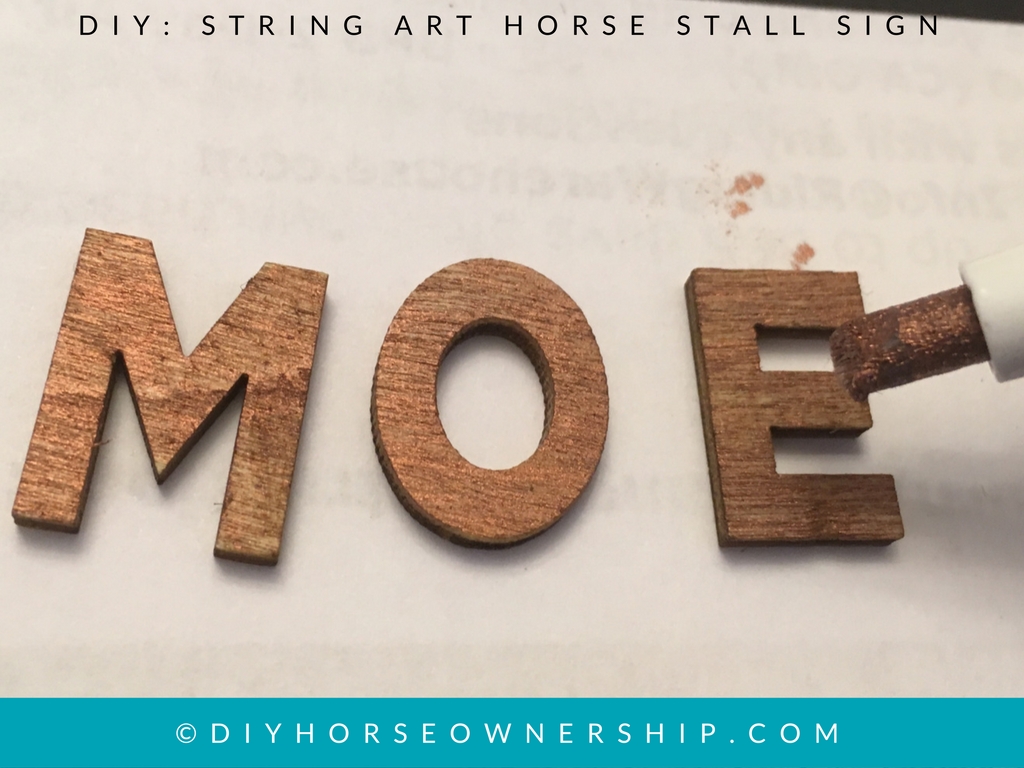
Step 11
Step 12: Glue the letters on. Use wood glue to attach your letters to the sign. Don’t use a lot, but don’t worry if a little seeps out around the edges; it’ll dry clear. I used a ruler to get the letters straight. You can eyeball it if you’re good at that. I’m not.
Step 12
Step 13: Sealant. Spray the entire sign with the sealant. Because of the string, brush-on or wipe-on sealant won’t work for this project and you’ll need spray sealant. I like to use matte clear, but you could use a different sealant if you wanted to add some shine.
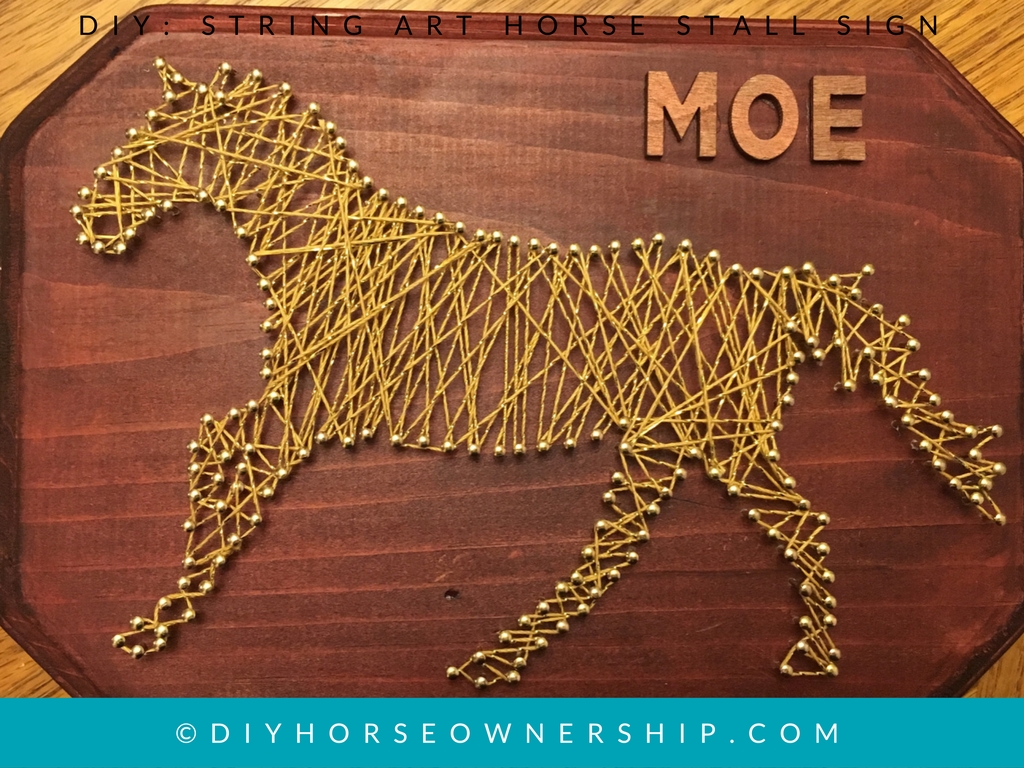
Step 13
That’s it. I like to use small screw eyes and hooks to hang my stall signs. You can also apply them to your stall with velcro or double-sided tape or however you choose to attach stall signs. The screw eyes and hooks are nice for allowing you to move the sign from stall to stall without ruining either the sign or the stall.
Very fun!
This is a fun project.
Wow!! If I had a stall I would use this idea. That turned out beautifully!
I really like this one.
Cute!
Thanks!
I love it! Sounds super doable (even for those of us who are not crafty) and looks phenomenal.
Yes: this is a project that makes the creator look like a pro.
Woo….this looks easy enough that even I could do it. Thanks for the tutorial, that turned out really nice!
I think this is one of my easier projects. When I was looking up other string art tutorials before doing this, they all said this is an easy project.
This has got to be my favorite thing you’ve done!
Hint Hint?
I love the look of this! So cute and so classy!
It’s very cute and there are lots of cool color possibilities.
That is one of the coolest things I’ve ever seen!!
Thanks. I really wish I could have this type for myself.
This is the BEST stall sign ever!!! I’m so glad you posted the DIY- now I can make Gina an equally cool one!
Yes, I hope you do and then share pictures of it!
That is so stinking cute!!!!!! I love your DIY projects. One of these days, I am going to give one a try. :0)
Do it. This one is great.
Ok I have ALWAYS loved these designs but figured they were too complicated. This looks great tho!!!
I thought they were hard too, but they’re really not.
Wow, you really are creative and skilled! These are soooo nice! My horses could eat any stall signs for now, but I’m bookmarking for the eventual time when they can’t.
I know. My horses mess with everything and could not be trusted to have a sign like this.
I love how easy this is! I want to do this!
You should try it. It’s fairly easy.
Seriously awesome, and totally feasible to a lazy person like me 😉